Showing posts with label calendula. Show all posts

Thursday, June 12, 2014

Part 2, Natural Dyeing Series - Marigolds & Calendula

So, sorry to those (few) folks who subscribe to my blog wanting to see/learn about my soap making adventure’s only to be recently mislead into some of my other interests…the most recent being Naturally Dyeing.  In a way it is a related to my soaping since all of my soaps are colored naturally.  I’m an avid knitter so of course my curiosity with natural dyes in soaping would spring up in my love for wool too.  I’m usually thinking,’ what would that look like in soap?’, but now I’m always wondering what wool would look like dyed too.  It is sometimes hard to drive down the road…I’m looking at all the weeds and plants on the roadside and wondering what would they look like in the dye pot.  So onto my little Natural Dye Series, Part 2 – Marigolds and Calendula.

I grouped Marigolds and Calendula together for none other than the latter is referred to as ‘Pot Marigold’.  They look and smell a bit similar too. 

Marigolds are native to North America.  The Aztecs used them in religious ceremonies.  They are used all over the world in festivals and ceremonies for dyes, food and floral arrangements.  They are so easy to grow and once established will flower well into Autumn.  If you save the dead seed pods and dry them you have seeds ready to go next Spring.  I have my kids help plant Marigolds all over the perennial flower beds in our yard for bright touches of color.  I love them and have to admit they are one of my favorites.  I think it is because they are so easy to grow, flower constantly and provide you with seeds for the next year.

Calendula is not botanically related to marigolds, but look similar.  Calendula is native to the Mediterranean area and like Marigolds is used throughout the world for their pretty bright flowers, but Calendulas are also used medicinally to treat wounds and skin irritations.  I started my Calendula plant from a package of seeds that I got at my local farm fleet store.  I harvest the fully matured bright yellow flowers and dry them on an old window screen.  I let a few flowers go to seed and once dried and wilted I dehead and shake the seeds onto the ground.  I tried saving the seeds and planting elsewhere in the garden, but it never took.  I’m on my 3rd season of Calendula from my one packet of seed by doing the above.  I've noticed a few new plants further away from the original so maybe the wind carries some seeds. 

Calendula has many uses, but is mostly used for skin care since it promotes healing and is extremely gentle.  You will find it used in many salves and balms especially for babies chapped or irritated skin.  I use my dried petals in soap since the bright yellow color remains through the saponification process.  I've also infused my oil with dried petals for an extra skin soothing bar of soap.


I only use my dried Calendula petals in soap and salve and Marigolds as natural dyes for animal or plant fibers for sewing or knitting.  Onto some pictures........

Naturally Dyeing with Marigolds:

Cotton Muslin fabric pre-mordant with Alum ready for dye

I used dried Marigold seed pods left over from our Spring planting (approx 4 oz).  The fabric and seed pods are layered into the jar and then I poured hot water over to fill.  This sat on the counter for a few days.


The same cotton muslin out of the dye.

 And the finished product.  I'm impressed with the bright yellow golden color.


I saved the seed pod mixture and decided to try dyeing some yarn with it also.  Here are the natural skeins.  I basically went through my stash and whatever looked natural and plain went into the dye pot.  I did not pre- mordant with anything.  I didn't even scour or pre-soak them.  All are plant or animal fibers (alpaca, merino or cotton)
 

Out of the pot...still a nice golden yellow color with the 2nd exhaust.

I dyed these in the same dye pot...they were a pale natural cotton color before sitting in the dye pot for a few days.  Again no pre-mordant.

I decided to play around with an Iron post-mordant.  Here is my iron mordant...it is some metal hardware the kids found in the yard digging around that I put in an old pb jar with vinegar and water.  It sat for about 2 weeks until it was all nice and orangy dark.  


 I took a risk and added half of one of the Marigold skeins directly into the iron mordant.  I think next time I would fill a basin with water and add some of the mordant to the water....not the fiber directly in.  It may weaken the fiber...maybe, who knows.  I didn't have a timer but I read you could leave it from anywhere from 5-20 minutes depending on what color you want to achieve.  A post-iron mordant is known to 'sadden' the color...make it darken and more intense.  I had the radio on and left it in for two songs...so about 10 minutes.  


And here it is after a rinse. 

and what I knit with the yarn.....Enchanted Mesa sweater by Stephen West


 Naturally Dyeing with Calendula:


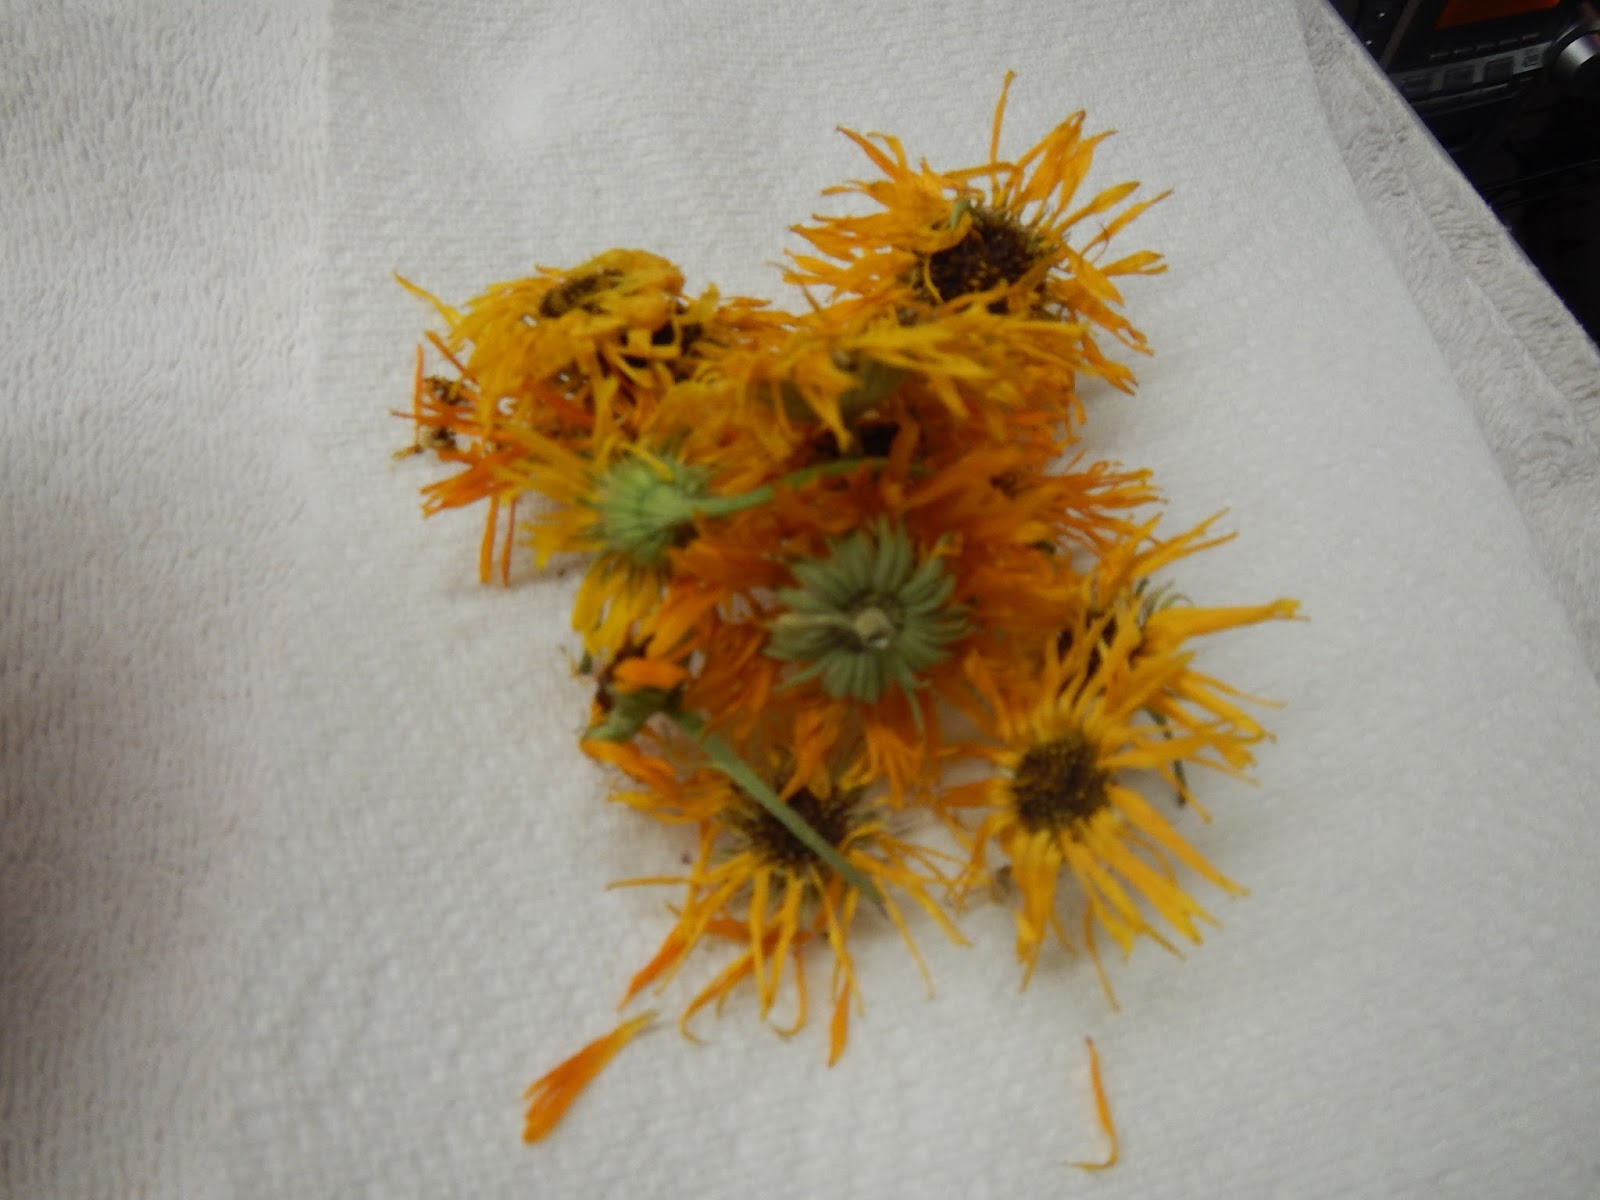
Some dried flower heads


I infused some oil with the dried flowers for a few weeks.  I picked off the yellow petals, placed in a sterile jar and topped with oil.  (I think I used Sunflower Oil, but it may have been Olive).  You can see how brightly colored the oil gets after a few weeks.

 I used that bright oil to superfat a batch of soap and added some petals as decoration to the top. 

Up next in our Natrual Dye series.....TEA!

Friday, October 4, 2013

the makings of some 'Winter Salve'

I've been making salve for personal use for a while now.  I don't ever plan to sell it...I adore it to much to ever give up an ounce.  I'm planning a new batch and thought I'd share.  This will be perfect in the Winter for dry, stressed and irritated skin.

Here is what I put in....the dried 'stuff' is from my garden (except for the Eucalyptus, which comes from my parent's)  + Comfrey Root and Slippery Elm from Mountain Rose herbs.

I don't usually measure anything...I can't really be that scientific with my salve, but I simply added (eyeballed) equal amounts of Lemon Balm, Eucalyptus, Chamomile, Calendula, Comfrey Root and Slippery Elm (both from Mountain Rose herbs) + previously infused Rosemary infused Olive oil.

Here it is before adding the oil

and with the Olive Oil

I'll let it sit on the counter for weeks, strain and add some melted beeswax  + some ground Nettle Powder and some Essential Oils (probably Lavender & Tea Tree) to finish off the salve.  Put into sterile jars and enjoy all winter long!  I can't wait....

Monday, September 9, 2013

and now the SNAPS

In my previous post I mentioned that I would post the pictures of the soap I recently made....so here are the snaps.  Enjoy!

In the molds....


Sunday, September 8, 2013

The makings of some SoAp

I was having such a blast last night making some new soap I thought I'd write up a blog post about it AND I actually remembered to grab my camera.  I thought I'd try something a bit different and do a master batch of oils with each batch having their own lye solution made.  I have four wooden molds.  Three of my molds I like to use a 44oz oil recipe and the other I use a 40oz oil recipe, but I was going to superfat that one soap with some Calendula (from my garden) infused oil so I only calculated 35oz for that one.  I had a huge pot of oils all mixed and ready to go and then I separately measured out on the scale enough for each batch.  I thought it would save me some time and happy to report it did!  I just had to spend a bit of time figuring out each batch beforehand and prepping the other additions.  I grabbed my camera to document my evening adventure.  The four batches I made are...Calendula, Chocolate Mint & Cinnamon, Almond Milk & Oatmeal, and a scented batch of Ombre Charcoal.  Here are some pics.... 

The molds all wrapped and ready to go


Chocolate Mint herb from my garden which I dried and then put in my spice grinder 


Here it is ground to a fine powder


The Sunflower Calendula infused oil which was infusing for weeks in the Mason jar


The lovely orange color of the infused oil


Some dried flowers to decorate the top of the batch


I tend to use my washer and dryer as additional space while soaping.  Here are the other additions I needed.... to make the Ombre Charcoal I used Bamboo Activated Charcoal Powder & Lavender & Tea Tree Essential Oils.  The Almond Milk & Oatmeal ready for soaping ( I always use the 50/50 lye/milk method for my milk soaps) and some cinnamon and cocoa powder for the Mint & Cinnamon soap.  I ended up not using any cocoa powder.

And an in process shot of the Ombre Charcoal.  If you look closely you can see the tape I used as my 'precise' measurement for the gradient layers.  I started with the darkest layer of soap on the bottom, used half of the container, filled it with uncolored plain soap to lightened it a bit, filled half of this into the mold then repeated the process for the additional layers with each getting slightly lighter in color until I ran out of soap.  I think I got 5 or 6 layers.  It was a SLOW tracing mix so it was a bit time consuming since each layer had to harden slightly so I wouldn't lose the effect.  I ended up shaving other soaps and doing lots of clean up while waiting between each layer.  This one took a while!


That is it!  I'll post soon with some snaps of the cut bars.   Happy soaping!!


Saturday, July 27, 2013

Summer is slipping away.....

Who stole my Summer?  I'd like it back...it is either too hot to do much outside or it is raining.  I want to be outside to enjoy the Summer days before it is too late!!  But instead I've been stuck inside.  Don't get me wrong it has been nice and I've got a bunch done, but we are all a bit stir crazy.

Pictures are easier to describe my last couple of weeks....

 Here is a second batch of Jewelweed Tea brewing on our Frigidaire Custom Imperial Flair gem from the late '60's.


Dried Calendula flowers from our garden.  I'm plucking the bright yellow petals off to infuse in some oil.


And here is the jar of oil that I'll let sit for a bit and I'll shake every time I walk past.


Two different batches of soap...the same but different.  Each is made with exactly the same ingredients and the same recipe, just used different style methods.


All of my shaved 'bits' for my latest batch of Bits & Bobs soap


Thursday, September 6, 2012

Oh, snap!

yep, it has been a few days without me blogging....since I'm sans computer.  Our 1966 Frigidaire Custom Imperial fridge went ker-plunk and I'm not letting her throw in the towel.  I can't give her up she is too precious and beautiful...not to mention the fact that she is built into the kitchen space and it would entail ripping out cabinets and I'm not going there.  So, I was up close and personal with her the other day with my flashlight removing her parts.  I think I may have removed the proper one and after hours online searching for a vintage piece, I decided to pick up the phone and made a few calls.  I really thought I wasn't going to find anything  but someone recommended a guy who he referred to as 'the hoarder'.  He actually has the part!  Holy cow he has the part!!!  Yeah, I'm so excited!!  So anyway the long and short of it is this fridge is built into the kitchen space so there is no pulling her out and unplugging her so we had to kill the breaker in the breaker box so I could tinker with her guts.  My computer and some other random plug in the corner of the dining room (which I discovered didn't work when I plugged my sewing machine into it and nothing.....I thought ...not that too...then I realized oh, yeah breaker box) are currently not in working order.  I actually enjoy not having my computer for the time being....I've made lots of soap, have done lots of knitting, made a quilt top and have been fixing the fridge......time has been nice!  Computers suck our time away like it never existed...but they have their purpose too...blah, blah, blah......how about some pictures!!!

Calendula Soap.....dried calendula flowers from my garden


A horrible picture of a beautiful shawl (it is currently blocking).....Alpaca Sox Shawlette pattern on Ravelry......used Nora Cash Iroho, Nora Silk Garden and Suss Yarn Love...great pattern!


Thursday, August 16, 2012

I bring you pictures of SOAP!!

A bit about my soap....You often wonder my someone would go out of their way to purchase handcrafted soap.  Maybe they are allergic to synthetic scents and dyes or maybe they have a new baby and want something extra gentle or maybe they want just pure clean soap.  When I decided to make soap I knew it would be pure, all natural, handcrafted soap.  I use all natural ingredients (you can eat most of them! but please don't munch on the soap) no scents and no dyes.  I infuse oils to get natural scents and colors...the closest to nature as possible.  Nothing harmful or synthetic ever!  So enjoy the pictures.....thanks for taking a peek.  I'm working on having an online shop open soon so check back often for all of the details!

Lemon Mint Soap (made with infused mint oil)


Chocolate Honey Oatmeal Soap


Gardener's Soap (made with infused sage oil and cornmeal)


Rosemary Lemon Soap (made with infused rosemary oil)


Green Tea Eucalyptus Soap (made with eucalyptus infused oil)


Banana Soap


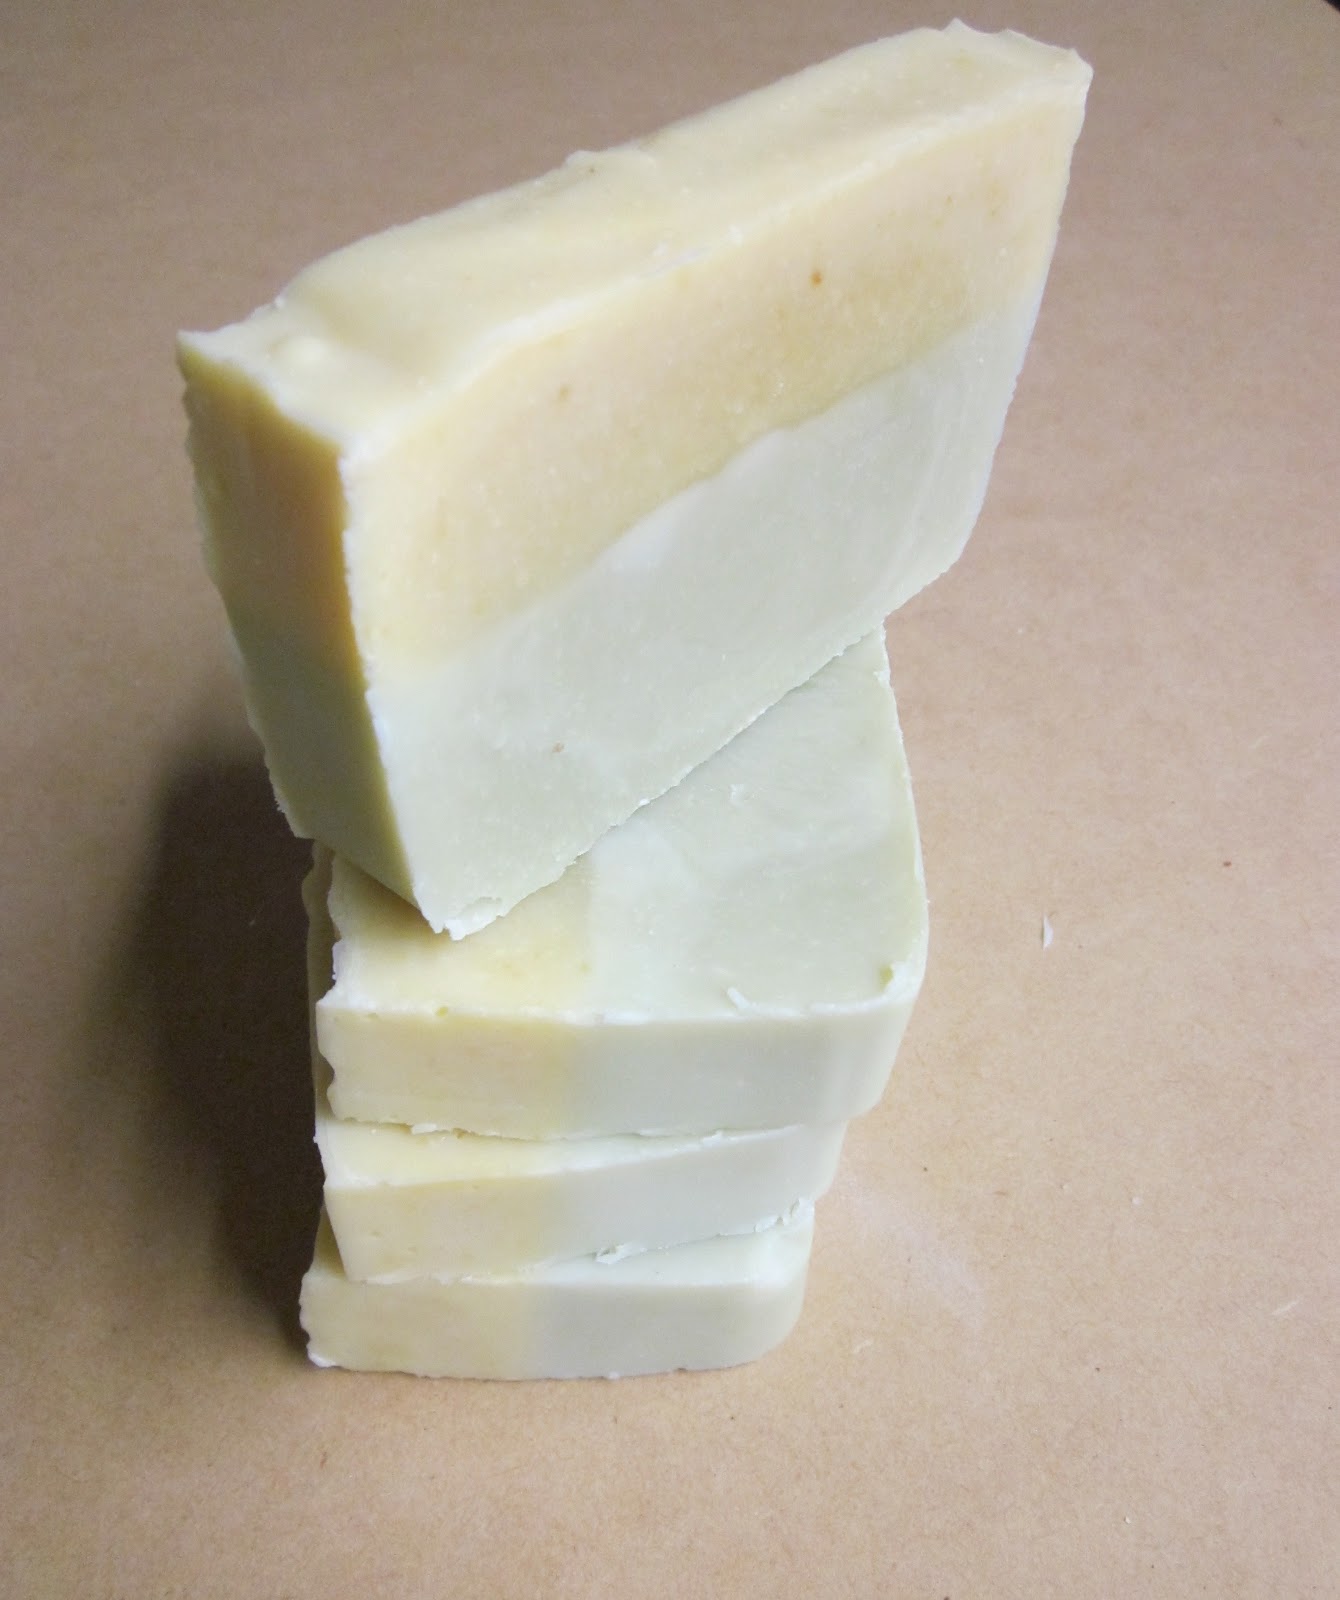
Calendula Soap


Kitchen Coffee Lemon Balm Soap


Wednesday, August 8, 2012

Calendula Salve in the works

I decided to grow some calendula flowers this summer and I am so happy that I did.  What an amazing plant...not only is it pretty to look at, but super easy to grow from seeds and produces a ton of gorgeous yellow flowers.  I am very impressed with my twenty cent purchase.  Yep, I saw a packet of these seeds at my local big box store and thought what the heck, at that cost I've got nothing to lose.  My three year old son helped me plant the seeds this spring.  I never really have good results with seed starting so I wasn't  expecting much but it was simple and effective.


We live in the NE zone 6.  We planted the seeds in mid-May, the picture is taken in late June.  Today, August 8, after many days of either really high temps in the upper 90's or periods of downpours, the plant is still going strong and producing flowers.  Although it doesn't looks as green as the above picture.  I planted some seeds in a pot too and it is just now starting to flower. I'm not sure why there is a difference in the flower timing.  I've been picking and drying the flowers all summer long, but just last week I found mold in my huge dried flower container!  I was so upset that I had to toss it out.  I was planning on making a big batch of Calendula Salve.  Now, when I pick and dry the flowers I'm immediately adding them in a jar of oil to infuse.  I was originally going to wait until I had all of the summer's harvest to infuse, but I'm going to infuse as I go along so I don't have to worry about mold again.


It is a small amount but at least it is something.  I had enough dried flowers to fill that jar too!

The recipe I'll use is taken from this book.  Basically, you add 1/4 ounce of beeswax to every 2 tbsp. of infused oil.  Check back later this year to see how things turn out.  This will make an excellent salve for diaper rash, burns or any skin irritations.