Monday, November 17, 2014

Indie Knit & Spin 2014 -- THANK YOU!!


This past weekend was the Indie Knit & Spin.  It is always such a delight to attend this event.  Thank you so much to all of my friends and family who supported me through this and for all the familiar faces and new friends I met along the way.  It really is so amazing to see the talented fiber friends and their latest creations worn during the day and to see all the amazing products each vendor brings.  I didn't take as many pictures as I expected (I guess I was busy) and look forward to using all of the things I purchased.  I bought a lovely skein of fingering weight yarn from Wren House Yarns.  It is a silk and merino blend.  I cannot wait to cast this on the needles.  I’m thinking something extra squishy with lots of garter stitch.  I also got some fiber to once again figure out how to spin.  I really really want to learn.  I tried for a tiny bit last year, but am determined to give it another go this year.  Maybe the really pretty fluff will keep me inspired.  I got dyed Falkland and Shetland and some undyed Tarhgee.  As the saying goes, watch this space……


Thursday, October 30, 2014

SoAp, soap, SoAps.....


Friday, September 26, 2014

Indie Knit & Spin

It's that time of year again folks...Fall, pumpkins, Halloween, cool weather and lots of knitting!  And let's not forget the INDIE KNIT & SPIN.  I'll be a vendor again this year ...peddling my wares.  Soaps and drawstring project bags created by me and ceramic buttons and soap dishes created by my lovely folks.  I'm always super excited to be at this event and each year it just gets that much more spectacular.  New for this year will be classes!  Such lovely ones too.  You can find all the details for everything pertinent and more here at their website.  See you there!

Oh, and case you don't feel like clicking on a separate tab...the event is a fiber fest held on November 15th from 11-4pm at the Wilkins School Community Center in Regent Square  or 7604 Charleston Ave, Pittsburgh, PA to be exact.


Thursday, September 4, 2014

Natural Dye Series - Part 3, Tea & Mint


Tea isn't anything new or different, most people know it dyes with a nice 'antiqued' look.  My husband and I drink a lot of tea so over a few weeks, I collected all of our used tea bags in a large ziploc bag.  I kept this in the fridge since I was afraid of mold.  There was over 50 tea bags ranging from Green Tea to Earl Grey to English Breakfast (all Twinings if you are interested).  

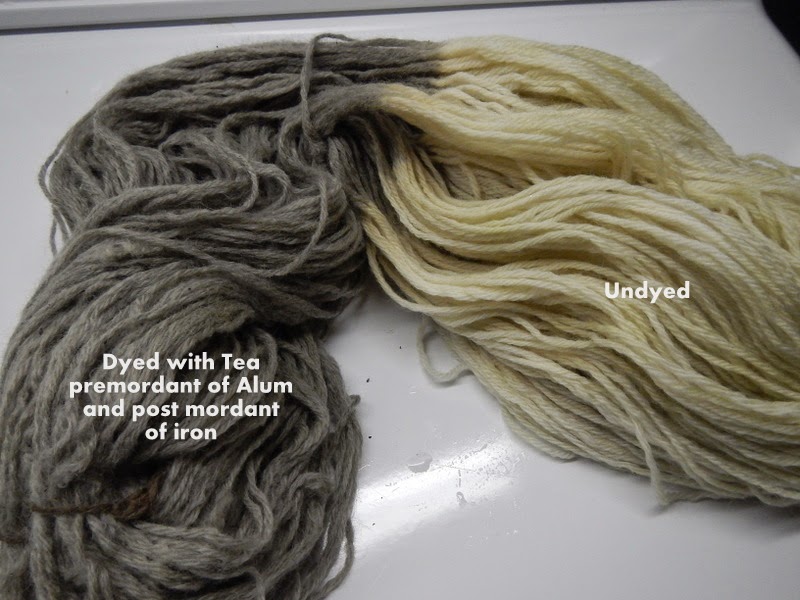
Here is how the dye took on the skein.  Kind of bland and boring if you ask me.


In addition to the yarn I dyed a plain white skirt that has been lurking in my closet for years.


As I mentioned above, I thought everything was bland and boring so I decided to give each a dunk in an Iron Post-Mordant.  My Iron Mordant is some old metal stuff the kids found in the yard while they were digging.  I put this in an old jar with some vinegar and water.  It sat for weeks until it was a murky orangey color.  I added about 1/2 cup of this into some water for the Post-Mordant. 


Each went in for a few minutes....probably 10-20 in total.


I only placed the part of the skein that was originally dyed with tea, not the whole skein.  The remainder of this skein was dyed with some mint (see below).


It darkened the skirt at bit...it is linen.


And the wool a lot.


Next, I put some fresh mint from my garden into the pot for the other half of the skein.


Here is the yarn in the dye pot with the mint tea.


It is a nice golden yellow, but I wondered what it would look like with an Iron Post-Mordant.


So in it went.  I only did half of the half dyed with mint.  I held it in the Iron bath for a few minutes checking it ever once in a while until it was a darker color.


and the final result


and what I've been knitting with the yarn...Splitbark Mitts by Stephen West


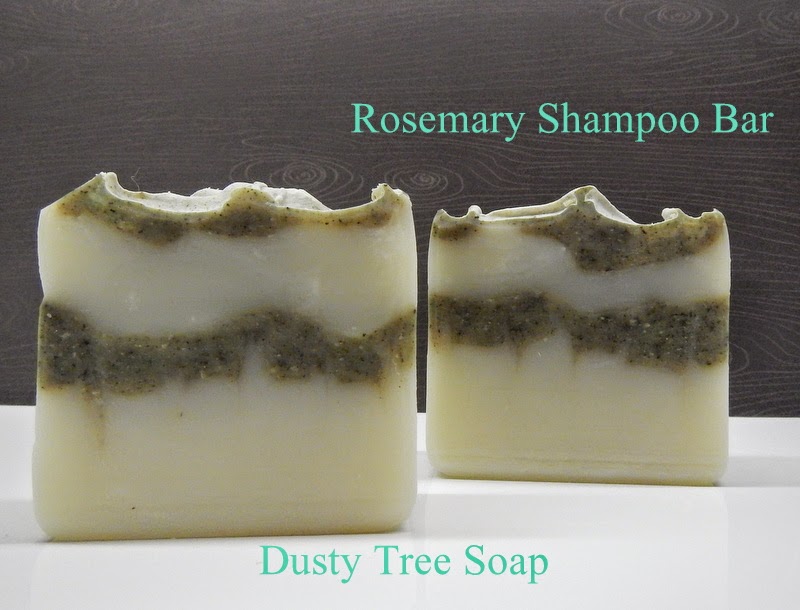
Now I figured, since this is technically a soap blog...here are a few snaps of soap where I used mint or tea as a natural dye.


Next up in the Natural Dye Series is Black Eyed Susans and Coreopsis (Verticillata to be specific) and unfortunately (or fortunately depending on your interests) this next series is only involving yarn...no soap. 


Friday, August 29, 2014

a Quickie


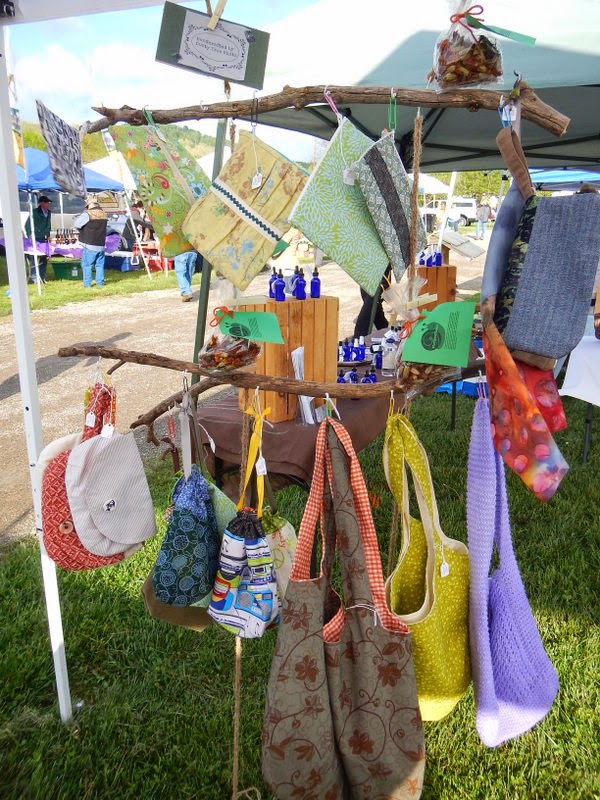
My Table at Ligonier Country Market


Can't wait to get these into the dye pot with some wool


Dried Mint harvested from the garden earlier this year

some herbs just hanging out to dry


Wednesday, August 20, 2014

Rainy day(s) with kids

Here is a fun activity to do with the kids when it is raining.  You can google Elmer's glue batik for more specifics, but here is a quick post on what we did.  I bought some plain white fabric - we did two separate 1 yard each panels.  Lay it out on some cardboard backed with waxed paper.  A table works too, just somewhere that it won't be disturbed while the glue dries (overnight).  Take your gel Elmer's glue and squeeze the glue out into whatever design you prefer.  You could sketch an elaborate picture onto the fabric and use the glue to draw it or do as we did and free form glue all over the place.  I did this with a 3 and 5 year old so some spots were heavy with puddles of glue.  I just made sure I helped them move their bottles of glue around. ..most were swirly lines and dots.  As I mentioned above...let this dry.  Now comes the fun part...paint!  Get lots of acrylic paints and water them down.  Use this to paint your entire fabric panel.  Let it dry overnight.  This was our first time making something like this and I can tell that it is real important that you water down your paint.  Our fabric is somewhat stiff since we should have used more water.  When your paint is entirely dry put your fabric in a basin filled with warm soapy water.  Let it sit for 20-30 minutes to wash away the glue. (scrubbing is fine...the pigments in the acrylic paint has stained your fabric so you will not wash the paint away)  After I did this, I felt like it was still a bit slimy with glue so I tossed ours in the washing machine set to a gentle cycle and cold water.  I even tossed them in the dryer.  I backed ours with fleece for a small lap throw and have plans on making some neat designed fabric for bags.  It is really fun and engaging for creative kids.  Mine got the biggest kick out of making a painting on fabric that can be used for something useful.  We gifted these lap blankets to their Grandpa and Papa as birthday presents.


Painting with watered down acrylics.  Look closely you can see our glue design

 the painting process

 finished painted panels left to dry

 soaking in the warm soapy water

 a close up of the dry finished piece