Showing posts with label lavender. Show all posts

Saturday, January 16, 2016

goings on.....

Indie Knit & Spin
February 6th
10-4pm
Wilkins School Community Center


- Spicy Clove -
handcrafted with:
Clove, Orange + Cedarwood Essential Oils
paprika for natural colorant


- Lavender Oatmeal -
Handcrafted with:
Lavender Essential + Colloidal Oatmeal
alkanet for natural colorant


Thursday, October 29, 2015

the latest.........

here is what was pictured in the crock pot 
from my earlier post


Tuesday, September 15, 2015

SoApy goodness

a new favorite of mine
with Fall in the air, this is just what my skin needs - 
Shea Butter rich creamy + dreamy


Monday, March 16, 2015

FINISHED that WIP....

Did you look at my last post and wonder what those bundles were around a stick?  
Here's what I made from it..............


I Eco-dyed fabric to make some drawstring bags.  

Just an idea I had to package something new that Dusty Tree Soap will be featuring this Season at our local farmer's market.  
Watch this space......


So how in the world did I do that?

I purchased a yard of plain muslin...washed/dried it and cut 5 stripes using my elaborate template of an old piece of paper.  My template is 7"wide x 291/2" long.


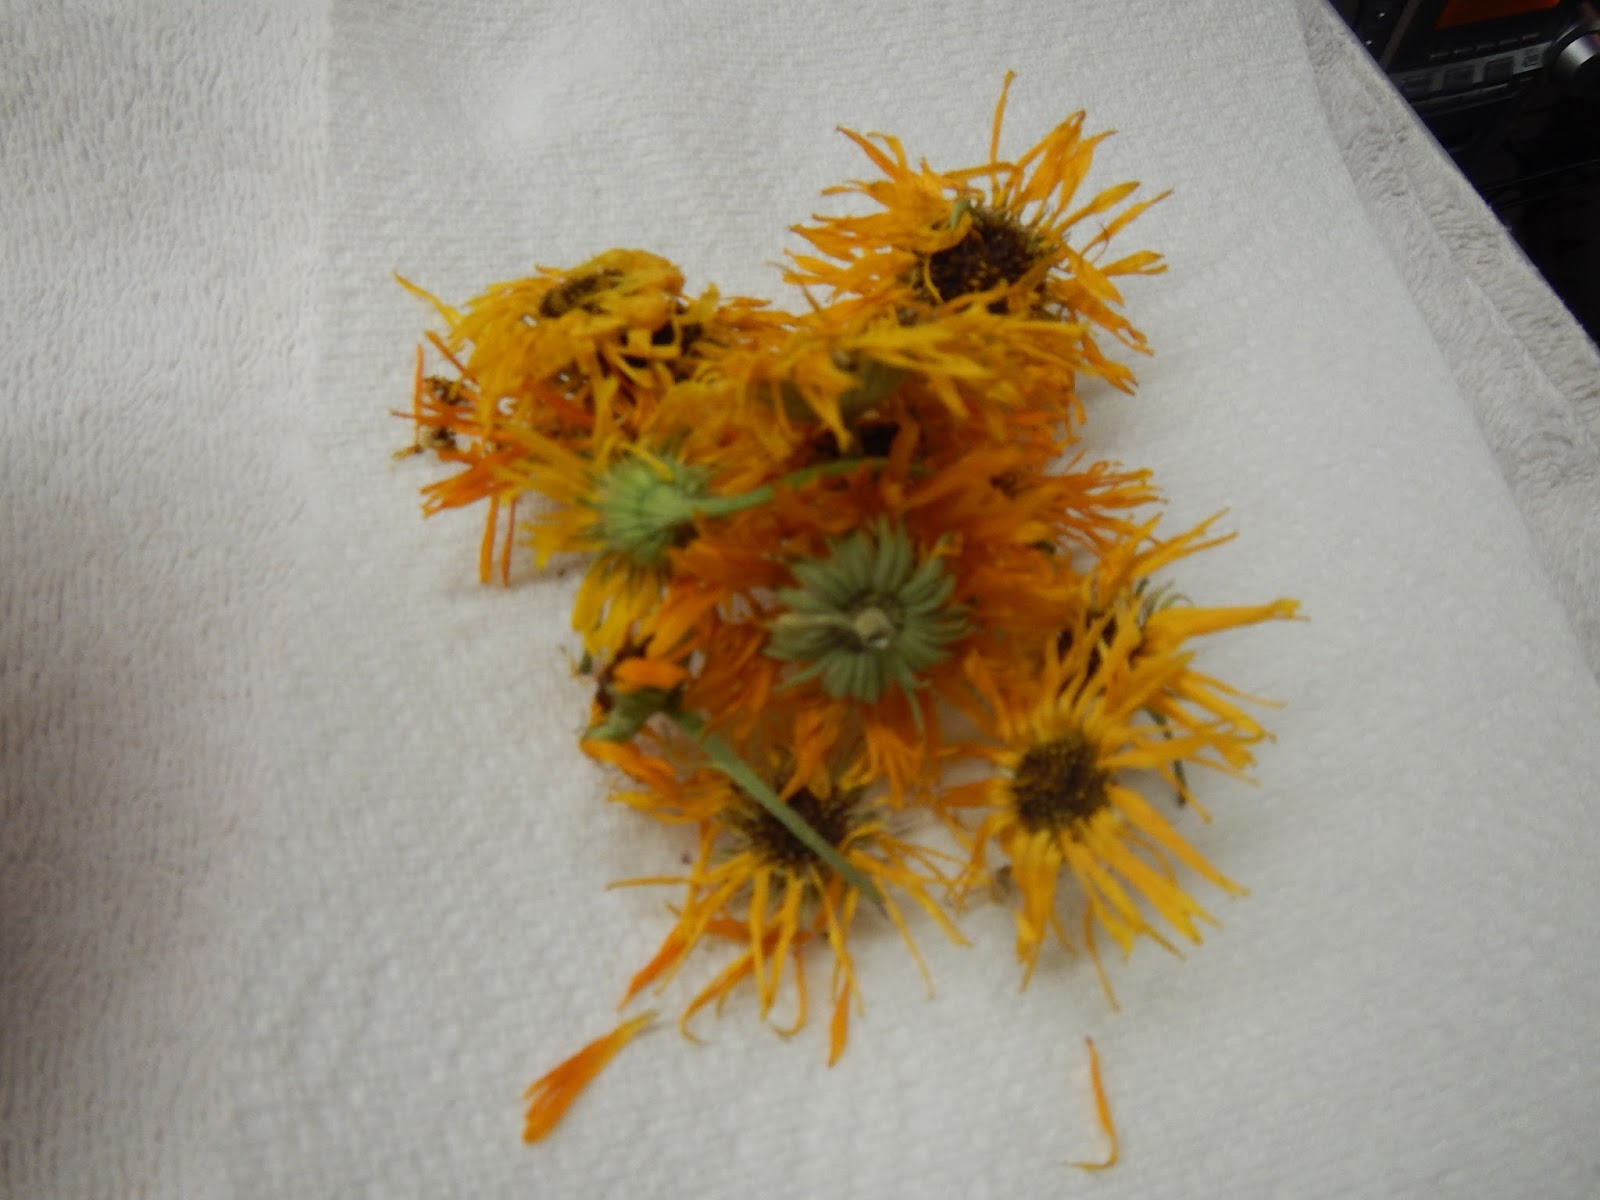
I gathered my supplies.....
some dried herbs/flowers from my garden, steel wool, vinegar & tea 

I enlisted the help of my 3 year old son to help work the magic....he really did all the work, I just directed him.  We make pizzas together so I told him to sprinkle it on like you do the cheese on pizza.  I put the steel wool in a container with some vinegar to soak to start it rusting. 
 (I put this on the fabric...my son did everything else)

After you cover it as much (or as little) as you prefer, top it with another piece of fabric and roll it around a stick.  I secured it with some wire I had on hand.


then steam them for a bit..........


and voila....eco dyed fabric. The fabric panels actually turned out better than I expected.  I thought they would be somewhat pale so I was pleasantly surprised with them.
  I used this tutorial to make my bags.


If you like DTS already on Facebook, 
then you've seen these, but some of my newest soaps for Market.  

The classics........


Thanks for stopping by!


Saturday, January 17, 2015

Rebatching soap - Haste doesn't always make waste!

A while back I made a batch of my Lavender Chamomile soap and it didn't come out very pretty.  I was a bit short on time and I added my lye solution to my oils when it was too hot...I knew at the time that something like this might happen, but I just went ahead and poured it in and swirled.  You can see in the picture below the effect this gives on the soap.  The edges are a bit lighter than the main body of the bar.  It is a perfectly fine soap...I used a bar and it had a nice stable lather and it smelled amazing, but it was ugly.  So I decided to try and re-batch it.  I got out my cheese grater and grated away all 12 bars and added the shavings to my crock-pot.  


I let this cook on the lowest setting for about an hour.  I added 1/4 cup water to help soften it a bit and mixed.  This continued to cook while I added a bit of water every 30  minutes of so.  I had to resort to using my potato masher to really mix the soap.  In the end it cooked for a few hours and I added about 1 cup of water. I did add a bit more Lavender Essential Oil too.  It looked like really lumpy mashed potatoes.  You might want to add less water, but I wanted to make sure it didn't stick and burn to the bottom of my crock-pot.  (I re-batched a different batch of soap and hardly added any water...I really didn't see any difference in cooking, etc - maybe this is personal preference and trial and error depending on your initial batch).  Once you are done cooking, you have to act quickly to get it in your mold.

Here is the before and after soap - both excellent qualities, but a bit of an enhancement in look.

And here is the other batch of soap.  It is all the shavings I've been saving when I trim the edges on my bars with a veggie peeler.  In the crock-pot they went...cooked and mixed with a potato masher for a few hours.  I added hardly any water and scraped into my mold.


Sunday, September 8, 2013

The makings of some SoAp

I was having such a blast last night making some new soap I thought I'd write up a blog post about it AND I actually remembered to grab my camera.  I thought I'd try something a bit different and do a master batch of oils with each batch having their own lye solution made.  I have four wooden molds.  Three of my molds I like to use a 44oz oil recipe and the other I use a 40oz oil recipe, but I was going to superfat that one soap with some Calendula (from my garden) infused oil so I only calculated 35oz for that one.  I had a huge pot of oils all mixed and ready to go and then I separately measured out on the scale enough for each batch.  I thought it would save me some time and happy to report it did!  I just had to spend a bit of time figuring out each batch beforehand and prepping the other additions.  I grabbed my camera to document my evening adventure.  The four batches I made are...Calendula, Chocolate Mint & Cinnamon, Almond Milk & Oatmeal, and a scented batch of Ombre Charcoal.  Here are some pics.... 

The molds all wrapped and ready to go


Chocolate Mint herb from my garden which I dried and then put in my spice grinder 


Here it is ground to a fine powder


The Sunflower Calendula infused oil which was infusing for weeks in the Mason jar


The lovely orange color of the infused oil


Some dried flowers to decorate the top of the batch


I tend to use my washer and dryer as additional space while soaping.  Here are the other additions I needed.... to make the Ombre Charcoal I used Bamboo Activated Charcoal Powder & Lavender & Tea Tree Essential Oils.  The Almond Milk & Oatmeal ready for soaping ( I always use the 50/50 lye/milk method for my milk soaps) and some cinnamon and cocoa powder for the Mint & Cinnamon soap.  I ended up not using any cocoa powder.

And an in process shot of the Ombre Charcoal.  If you look closely you can see the tape I used as my 'precise' measurement for the gradient layers.  I started with the darkest layer of soap on the bottom, used half of the container, filled it with uncolored plain soap to lightened it a bit, filled half of this into the mold then repeated the process for the additional layers with each getting slightly lighter in color until I ran out of soap.  I think I got 5 or 6 layers.  It was a SLOW tracing mix so it was a bit time consuming since each layer had to harden slightly so I wouldn't lose the effect.  I ended up shaving other soaps and doing lots of clean up while waiting between each layer.  This one took a while!


That is it!  I'll post soon with some snaps of the cut bars.   Happy soaping!!


Friday, October 19, 2012

Soaping the Night Away....


Rose Clay & Bamboo Activated Charcoal Soap


Almond Milk and Oatmeal


Kitchen Coffee Lemon Balm Soap


Kelp Soap


Rhassoul Clay Soap


Double Mint Soap


Friday, August 24, 2012

Lavender Chamomile

This came out exactly as I envisioned...simplest of simple but with a gentle flair.  Smells divine just a subtle sweet scent.

Fresh Lavender buds from my garden sprinkled throughout for a middle layer


Uncut block


First cut


Lavender Chamomile!  Ready October 11


Next up.....I've got some creative ideas for a Halloween Soap and an Iced Soy Latte....what this space!  (I'm sure you will all be on the edge of your seats...I wish there was a font for sarcasm!)

Wednesday, August 22, 2012

Flax Grapeseed

Hanger swirl method done with Grapeseed Oil as a super fat and added ground flax seed. 


Uncut block 


 First Cut


 Super Soap!!


 Preview of whats to come......


Lavender from my garden


Made my kitchen smell sooooo good!