Showing posts with label herbs. Show all posts

Monday, March 16, 2015

FINISHED that WIP....

Did you look at my last post and wonder what those bundles were around a stick?  
Here's what I made from it..............


I Eco-dyed fabric to make some drawstring bags.  

Just an idea I had to package something new that Dusty Tree Soap will be featuring this Season at our local farmer's market.  
Watch this space......


So how in the world did I do that?

I purchased a yard of plain muslin...washed/dried it and cut 5 stripes using my elaborate template of an old piece of paper.  My template is 7"wide x 291/2" long.


I gathered my supplies.....
some dried herbs/flowers from my garden, steel wool, vinegar & tea 

I enlisted the help of my 3 year old son to help work the magic....he really did all the work, I just directed him.  We make pizzas together so I told him to sprinkle it on like you do the cheese on pizza.  I put the steel wool in a container with some vinegar to soak to start it rusting. 
 (I put this on the fabric...my son did everything else)

After you cover it as much (or as little) as you prefer, top it with another piece of fabric and roll it around a stick.  I secured it with some wire I had on hand.


then steam them for a bit..........


and voila....eco dyed fabric. The fabric panels actually turned out better than I expected.  I thought they would be somewhat pale so I was pleasantly surprised with them.
  I used this tutorial to make my bags.


If you like DTS already on Facebook, 
then you've seen these, but some of my newest soaps for Market.  

The classics........


Thanks for stopping by!


Wednesday, February 11, 2015

Mint into the Dye Pot

I harvested a bunch ( I mean a bunch!) of spearmint, peppermint and chocolate mint from my garden this past summer and dried it.  I put all of the dried bunches together in a large box.  I didn't keep the varieties separate.  I got tired of moving the box around so I decided to squeeze the dried bunches with my hands to remove the dried leaves.  I filled a large freezer bag with dried mint leaves and still had some left so I pulled out my spice grinder and whizzed a bit to a fine powder to use in my soaps.

I got out my garden shearers and cut the dried stems up a bit and tossed whatever remained in the box + a few handfuls of some dried leaves into my dye pot added some water and let it simmer.


While the mint was simmering, I scoured a skein of Skacel Merino Lace - a discontinued yarn that I found at my LYS.  It was a bare skein of superwash wool.  After scouring it smelled kind of like bleach.


 Not sure if they actually bleached the fibers to get it white or if that stench is from the superwashing process.  From what I understand they coat the wool fibers with plastic so the barbs on each strand will not felt when agitated.....nasty!  I'm not a fan of superwash, but it was at my LYS, bare, within my price range and I had a gift certificate.  

This skein is 100g so that means I needed about 2tsp of Alum and the same of CoT for mordant.

Once the skein was cooled in the mordant bath I added my liquid mint dye.


This simmered for about an hour.  I pulled it out and it was somewhat of a tan bland color so I added 2 tsp of baking soda to the dye bath and mixed it around to dissolve.  This immediately changed the color of the dye to a darker color.  I made sure everything was dissolved and I put the skein back in.  The baking soda changes the ph of the dye - hence changes the color.  I let it simmer for a bit longer, turned off the heat and let it sit overnight.  The result is very pleasing.  


Reading online and in books, I see most people mention that mint dyes a green color so I'm happy with my result.  I'm planning to knit a cropped 3/4 length sleeve cardi with the mint dyed yarn and add a lace button band in grey....should be perfect for Spring.  Love the Grellow color combo.

Friday, August 29, 2014

a Quickie


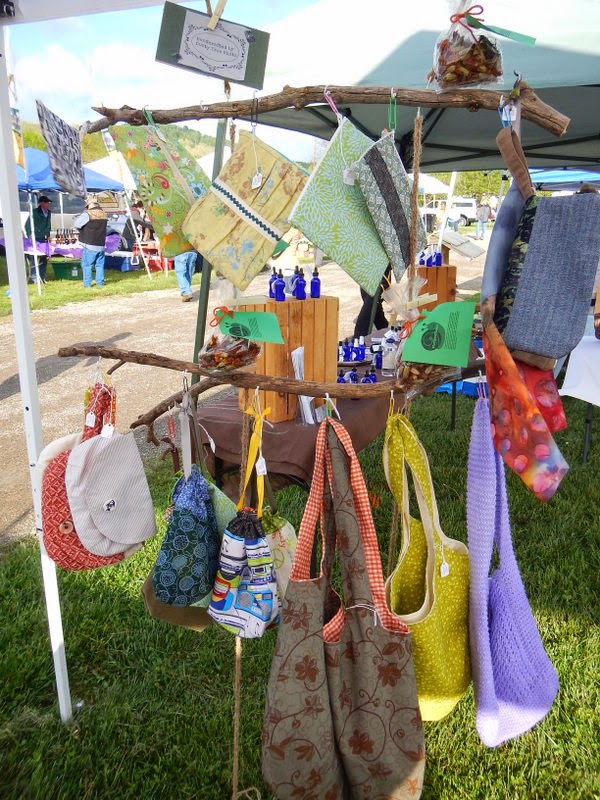
My Table at Ligonier Country Market


Can't wait to get these into the dye pot with some wool


Dried Mint harvested from the garden earlier this year

some herbs just hanging out to dry


Friday, October 4, 2013

the makings of some 'Winter Salve'

I've been making salve for personal use for a while now.  I don't ever plan to sell it...I adore it to much to ever give up an ounce.  I'm planning a new batch and thought I'd share.  This will be perfect in the Winter for dry, stressed and irritated skin.

Here is what I put in....the dried 'stuff' is from my garden (except for the Eucalyptus, which comes from my parent's)  + Comfrey Root and Slippery Elm from Mountain Rose herbs.

I don't usually measure anything...I can't really be that scientific with my salve, but I simply added (eyeballed) equal amounts of Lemon Balm, Eucalyptus, Chamomile, Calendula, Comfrey Root and Slippery Elm (both from Mountain Rose herbs) + previously infused Rosemary infused Olive oil.

Here it is before adding the oil

and with the Olive Oil

I'll let it sit on the counter for weeks, strain and add some melted beeswax  + some ground Nettle Powder and some Essential Oils (probably Lavender & Tea Tree) to finish off the salve.  Put into sterile jars and enjoy all winter long!  I can't wait....

Sunday, September 29, 2013

New SoApS and some yarny goodness fun!

Here are the latest soaps from my previous post.  I always get such a different look on my Chocolate Mint even though I always make it the same.  Each one is different and unique...I guess that is what I like about making soap.  The thrill, the excitement when you cut into a batch.

AND now for the yarny goodness........

I've been experimenting with natural dyeing even after my last posting where I messed up and heated the black bean juice.  I still have to repeat that one and try for a blue!  But this time I used some dried herbs from my garden.  I had Lady's Mantle and Chamomile.  Here are the pics from my adventure.....

I got these huge cones from my local thrift store for $1.00 (not each, but total!)  I have no idea what type of wool it is or where it came from or even how old it is, but I thought it was perfect to use for learning how to natural dye.  I've been measuring off about 1.5oz of wool for each batch.


I wash it with my lanolin soap


Let the wool soak by itself, resist the urge to push it into the water.  Let it soak for at least 30 minutes (I soak much longer)


I used alum to mordant.  I found this in my grocery store.  Add fresh water and your mordant (this case alum) to a pot you no longer care to use for cooking and add your wet freshly washed wool.  I read somewhere online that for 4oz of wool use 1 tbls of alum...so figure out your amount.  Bring gently to a simmer..never boil...you will felt your wool.  Some people use a thermometer, I just simply place my hand on the side of the pot to feel if it is too hot (please don't burn yourself...my hands are my best thermometer...that is how I tell if my lye is too hot too when soaping..the feel test isn't accurate by any means, but do whatever works for you).  This picture shows my mordant wool that has the excess water squeezed from it.


Here are my dried herbs (I never did weigh them or the water so I'm not sure of my ratio)  Dried Chamomile and Lady's Mantle that I chopped roughly with a pair of scissors.  I placed the herbs into the pot and then filled with fresh water until they were covered and simmer like you would tea...the house smelled so good!  This would have probably been a delicious tea to drink.  I simmered for about 40 minutes, turned the heat off and allowed to cool.  


Once cool, I squeezed all of the water out of the herbs and added them to my compost bin.


Here is the tea.


and the yarn in it...again return to a simmer and let it go for about 30-40 minutes, turn off heat and allow to cool.  Rinse until your water runs clear....this took me awhile and I was nervous that I was rinsing all my color out of the yarn.


Here are my latest small skeins...only 1.5 oz each


Up next MARIGOLDS!  I plucked every flower off of my remaining plants and placed in the freezer for a later use.  I put them on cookie sheets until they were frozen and then put them into freezer bags.  I got two bags around 12 oz each.


Monday, September 9, 2013

and now the SNAPS

In my previous post I mentioned that I would post the pictures of the soap I recently made....so here are the snaps.  Enjoy!

In the molds....


Sunday, September 8, 2013

The makings of some SoAp

I was having such a blast last night making some new soap I thought I'd write up a blog post about it AND I actually remembered to grab my camera.  I thought I'd try something a bit different and do a master batch of oils with each batch having their own lye solution made.  I have four wooden molds.  Three of my molds I like to use a 44oz oil recipe and the other I use a 40oz oil recipe, but I was going to superfat that one soap with some Calendula (from my garden) infused oil so I only calculated 35oz for that one.  I had a huge pot of oils all mixed and ready to go and then I separately measured out on the scale enough for each batch.  I thought it would save me some time and happy to report it did!  I just had to spend a bit of time figuring out each batch beforehand and prepping the other additions.  I grabbed my camera to document my evening adventure.  The four batches I made are...Calendula, Chocolate Mint & Cinnamon, Almond Milk & Oatmeal, and a scented batch of Ombre Charcoal.  Here are some pics.... 

The molds all wrapped and ready to go


Chocolate Mint herb from my garden which I dried and then put in my spice grinder 


Here it is ground to a fine powder


The Sunflower Calendula infused oil which was infusing for weeks in the Mason jar


The lovely orange color of the infused oil


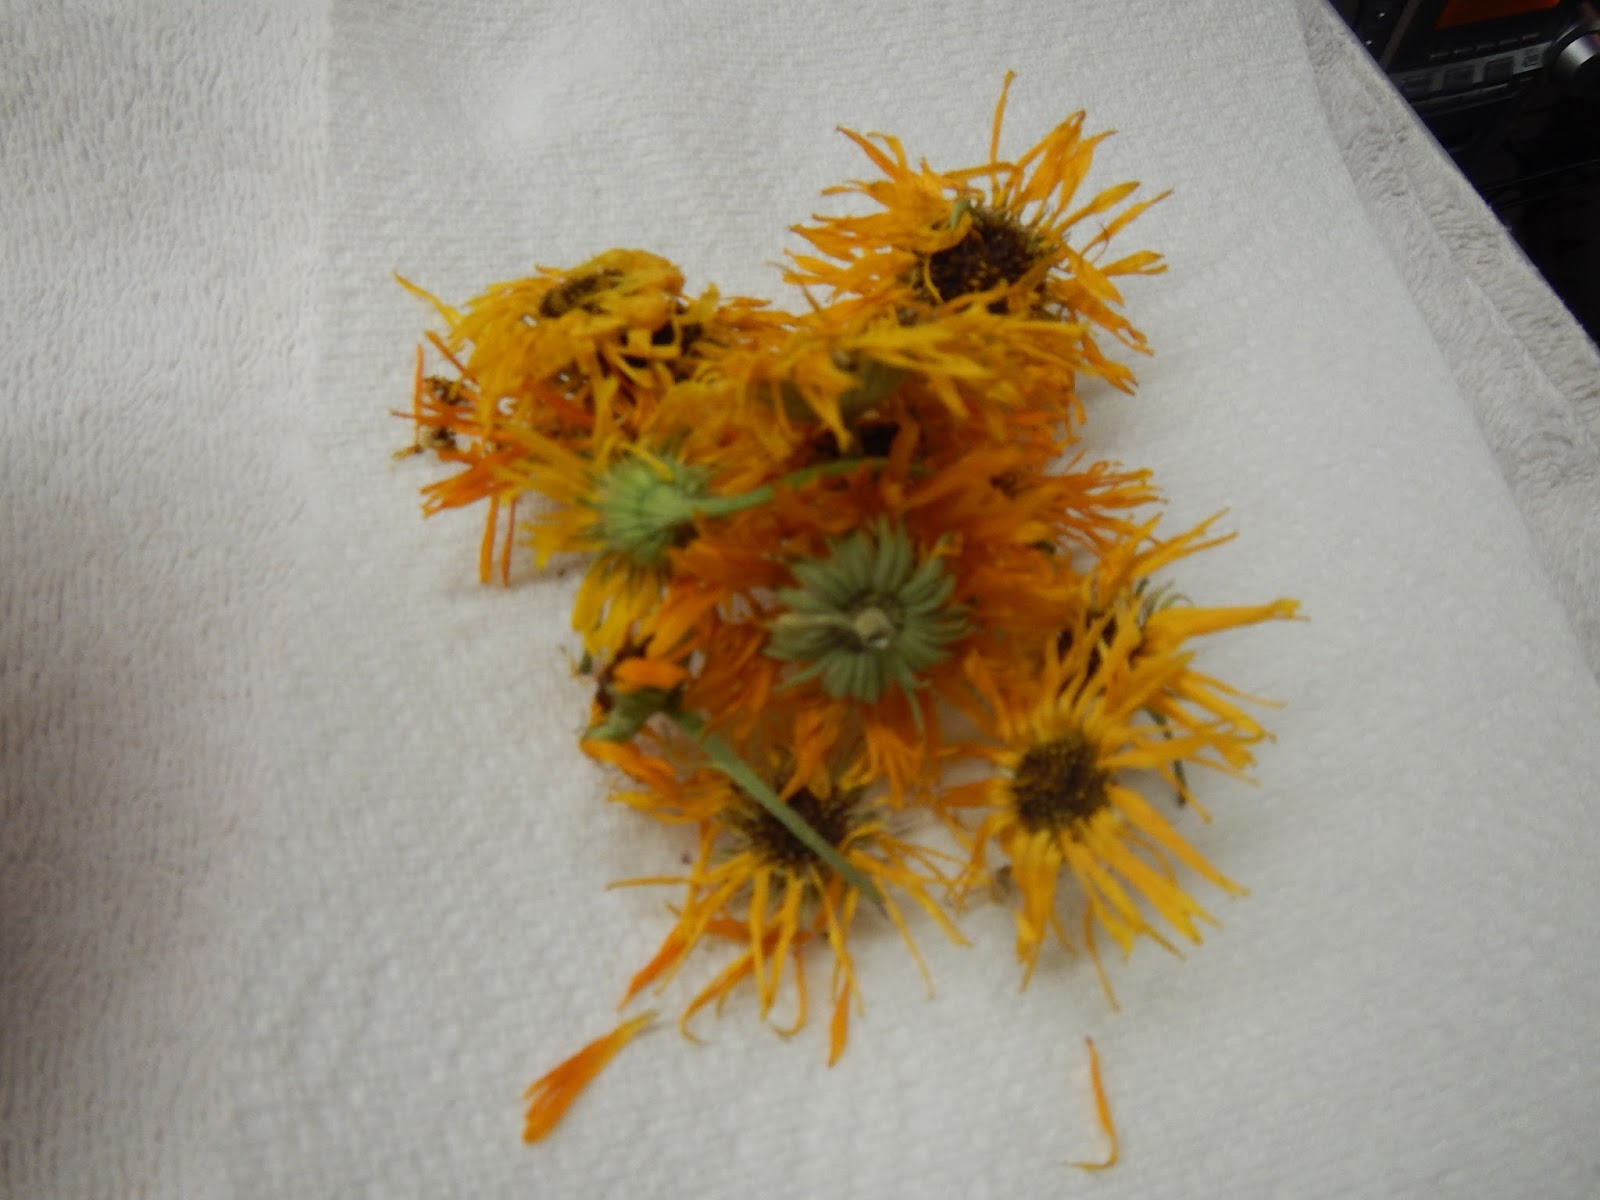
Some dried flowers to decorate the top of the batch


I tend to use my washer and dryer as additional space while soaping.  Here are the other additions I needed.... to make the Ombre Charcoal I used Bamboo Activated Charcoal Powder & Lavender & Tea Tree Essential Oils.  The Almond Milk & Oatmeal ready for soaping ( I always use the 50/50 lye/milk method for my milk soaps) and some cinnamon and cocoa powder for the Mint & Cinnamon soap.  I ended up not using any cocoa powder.

And an in process shot of the Ombre Charcoal.  If you look closely you can see the tape I used as my 'precise' measurement for the gradient layers.  I started with the darkest layer of soap on the bottom, used half of the container, filled it with uncolored plain soap to lightened it a bit, filled half of this into the mold then repeated the process for the additional layers with each getting slightly lighter in color until I ran out of soap.  I think I got 5 or 6 layers.  It was a SLOW tracing mix so it was a bit time consuming since each layer had to harden slightly so I wouldn't lose the effect.  I ended up shaving other soaps and doing lots of clean up while waiting between each layer.  This one took a while!


That is it!  I'll post soon with some snaps of the cut bars.   Happy soaping!!


Thursday, January 17, 2013

First Soaps for 2013

So I thought I'd try red wine in soap to see what type of results I'd get.  I expected red or mauve but I got brown.  That is okay since I swirled  it with some rose clay for what I'm calling Wine & Roses Soap.  Looks pretty cool.  I took some leftover spiced wine from Christmas (it was kind of gross...so no worries on the waste and not actually drinking it) boiled it for a few minutes to remove the alcohol then put it in the freezer.  I really didn't want to experience a volcano with the sugar/alcohol and lye.  I think next time I'll try the 50/50 wine/water method to see if I can keep the red color. 

Wine & Roses Soap


I then decided to do something with all of my leftover soap shavings I had sitting in a bowl...... that I'm so surprised my cat never knocked over.  I grabbed some Eucalyptus infused oil for the base and dumped in all of the shavings....gave it a good mix and then tossed in the remaining orange balls I had.  I think it looks pretty awesome....maybe one of my favorites.  It smells sooooo good too!  I just love all of the colors and the fact that I used scrapes that otherwise I'd have no clue what to do with.

Here it is in the mold


Bits & Bobs Soap


Friday, October 19, 2012

Soaping the Night Away....


Rose Clay & Bamboo Activated Charcoal Soap


Almond Milk and Oatmeal


Kitchen Coffee Lemon Balm Soap


Kelp Soap


Rhassoul Clay Soap


Double Mint Soap