Tuesday, August 21, 2012

Oops...Orange Blueberries

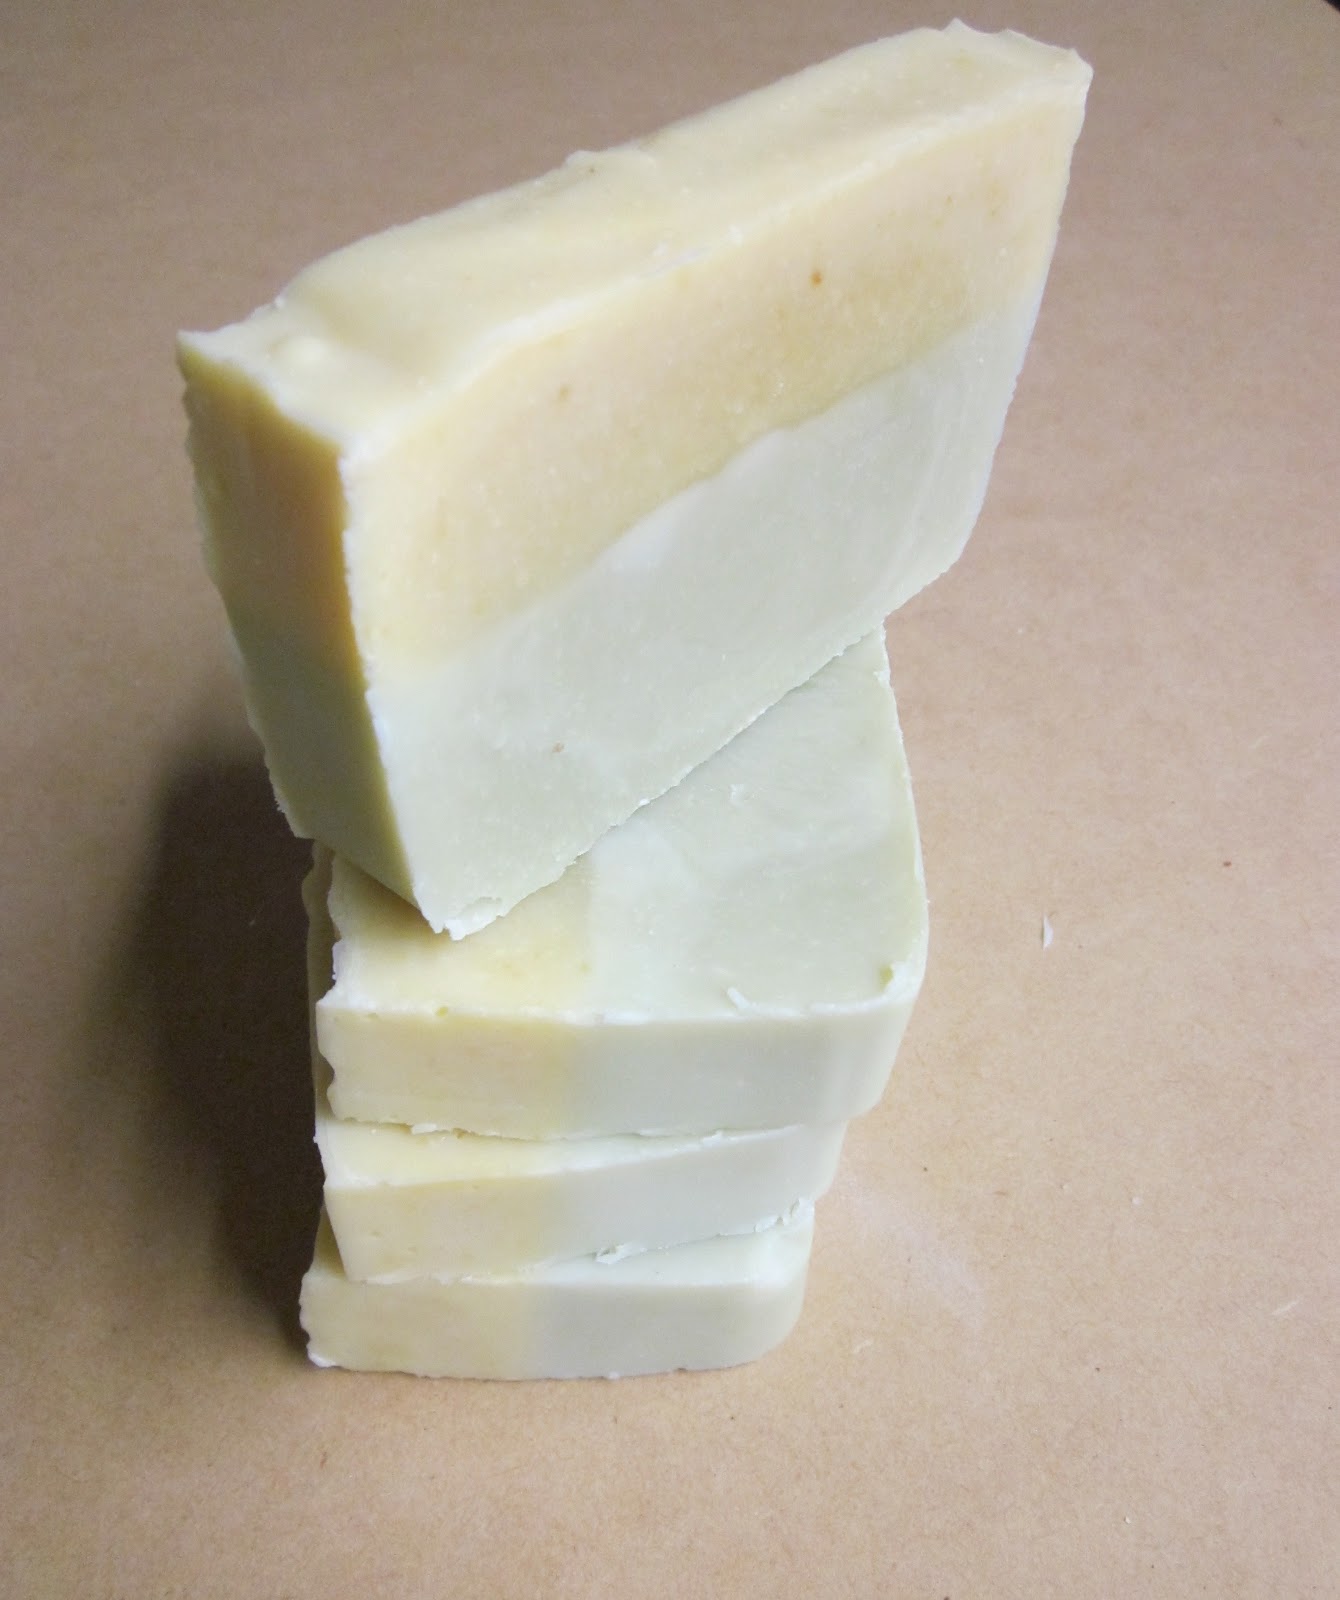
 I wanted to do an embed soap with some chocolate honey oatmeal scraps I had sitting around.  I contemplated making a swirl mixture with curry powder for some color but instead I went with a Naked Blueberry juice.  It turned orange!  HAHAHA  It still turned out the same way in my mind, but was a bit unexpected.  I think maybe if I used frozen blueberry juice it may have stayed its true color (who knows!)

The soap in the mold


The block ready to be cut...I like the swirls on the side!


 The soap...I don't know what to name it...any ideas?

Saturday, August 18, 2012

Latest Batch....

I wasn't sure how the colors would come out with this one so I couldn't wait to cut into this batch.  I think it turned out pretty nice.  I thought the Green Tea would be a bit more green instead of brown but I'm happy with it.  I used the faux funnel pour method and didn't swirl just tapped out any air bubbles and let it alone.  The three colors are made by Green Tea, Red Rooibos Tea and a plain mix of water.

Un-cut Soap right out of the mold


First cut


You can see how different each piece is.  I love the colors so earthy...smells pretty darn good too!


Thursday, August 16, 2012

I bring you pictures of SOAP!!

A bit about my soap....You often wonder my someone would go out of their way to purchase handcrafted soap.  Maybe they are allergic to synthetic scents and dyes or maybe they have a new baby and want something extra gentle or maybe they want just pure clean soap.  When I decided to make soap I knew it would be pure, all natural, handcrafted soap.  I use all natural ingredients (you can eat most of them! but please don't munch on the soap) no scents and no dyes.  I infuse oils to get natural scents and colors...the closest to nature as possible.  Nothing harmful or synthetic ever!  So enjoy the pictures.....thanks for taking a peek.  I'm working on having an online shop open soon so check back often for all of the details!

Lemon Mint Soap (made with infused mint oil)


Chocolate Honey Oatmeal Soap


Gardener's Soap (made with infused sage oil and cornmeal)


Rosemary Lemon Soap (made with infused rosemary oil)


Green Tea Eucalyptus Soap (made with eucalyptus infused oil)


Banana Soap


Calendula Soap


Kitchen Coffee Lemon Balm Soap


Wednesday, August 15, 2012

Just Pictures

Chocolate Honey Oatmeal Soap


Coffee Lemon Balm Kitchen Soap (used Lemon Balm from my garden)


Lemon Mint Soap (used Mint infused oil) + my new soap mold


Wednesday, August 8, 2012

Calendula Salve in the works

I decided to grow some calendula flowers this summer and I am so happy that I did.  What an amazing plant...not only is it pretty to look at, but super easy to grow from seeds and produces a ton of gorgeous yellow flowers.  I am very impressed with my twenty cent purchase.  Yep, I saw a packet of these seeds at my local big box store and thought what the heck, at that cost I've got nothing to lose.  My three year old son helped me plant the seeds this spring.  I never really have good results with seed starting so I wasn't  expecting much but it was simple and effective.


We live in the NE zone 6.  We planted the seeds in mid-May, the picture is taken in late June.  Today, August 8, after many days of either really high temps in the upper 90's or periods of downpours, the plant is still going strong and producing flowers.  Although it doesn't looks as green as the above picture.  I planted some seeds in a pot too and it is just now starting to flower. I'm not sure why there is a difference in the flower timing.  I've been picking and drying the flowers all summer long, but just last week I found mold in my huge dried flower container!  I was so upset that I had to toss it out.  I was planning on making a big batch of Calendula Salve.  Now, when I pick and dry the flowers I'm immediately adding them in a jar of oil to infuse.  I was originally going to wait until I had all of the summer's harvest to infuse, but I'm going to infuse as I go along so I don't have to worry about mold again.


It is a small amount but at least it is something.  I had enough dried flowers to fill that jar too!

The recipe I'll use is taken from this book.  Basically, you add 1/4 ounce of beeswax to every 2 tbsp. of infused oil.  Check back later this year to see how things turn out.  This will make an excellent salve for diaper rash, burns or any skin irritations.  

Wednesday, July 25, 2012

My Soap Cutter

It has been sometime since I've updated my blog and this is a picture heavy post!

I love my Dad, he is awesome and made me a soap cutter.  I emailed him a link I found online here. He had most if not all of the materials on hand so it was fairly inexpensive, but I think if you went to a big box store it would cost around $50.

Here is a picture of my cutter

It has a guitar wire strung from the bottom (underneath) to the top to cut the soap.  It is a bit tricky to get the wire just snug enough to make a straight cut and sometimes it breaks.  I've been playing around trying to figure out how to string it properly and I resorted to pulling out my Father-in-law's old guitar and stared at the wires for a bit to figure something out.  If you have a guitar or can get your hands on one, look at the way the wires are knotted at the end so you can still turn the screw and not break it.  Seems to be working well.

Here are a few pictures of him in the process of making it....this is him putting the table legs on the cutter.

The table with the legs and the side cutter guide but without the top


Attaching the top, which will hold the block with the wires (See the Stained Glass on his workbench in the background...isn't it beautiful!)


Me all smiley while he is working hard!


Another picture of the top...he used Popsicle sticks to separate the two top piece to make room for the wire to run between.
 

Running the wire from bottom (below) to top


Wrapping the wire tight


First cut!


 And my first cut!


 Another shot if it in use


Sunday, July 1, 2012

What the rebatch!!

Seriously...had to rebatch the banana soap.  Huh, what's that...no clue, but had to do it and had to figure it out or toss it.  Poor Banana Soap, I had such high hopes for you...I had dreams of using you in the shower and you making my skin all silky clean and fresh...oh, wait....I can still do that...yep!!! REBATCH!!!

Yeah, love that you can take a total loser disaster and turn it into something wonderful and bananay.  (yes, bananay...I'm still on the banana kick from my last post...these freaking things are awesome gifts perfectly wrapped a la Mother Nature style)

I'm not sure what really went wrong...who really knows.  I checked my recipe and don't remember forgetting anything and know I used my scale correctly.  It is pretty much idiot proof.  I think it is the mold I used.  I thought I would give something else a try and use a Pringle container so I could have circular (not unless you think round is funny..hahaha) shaped soap.  Well, that and the fact that I left the hot, gelling raw soap mixture in a garage in 95 degree temps could possibly be the reason for my soap disaster.  Once I unmolded the mess I pretty much knew...oh, yuck!  The Pringle container looks like it melted......

...ick!  Double ick!!  I didn't take a picture of the soap mess...(who really wants to take a picture of their disaster?)  It wasn't pretty....sorts looked like soap, but kind of a stringy like texture with pockets of oil.  I chopped it roughly with a knife and plopped it into a bowl and heated it on the stove and stirred and stirred and stirred until all of the lumps were out and it was smooth.  It looked like fudge and made me hungry.

Then I put it into a different mold and placed it in the basement (as I normally do with all of my other soaps...why didn't I do that originally??)  I'm now dreaming of using the Banana Soap in the shower again and it making my skin all silky smooth.  I think I was able to save a soap disaster and turn it into a banana goodness.  Again, we shall see in 24-36 hours, but I have high hopes for this one...I always do!